Wednesday, 13 May 2020

Poseidon class battleship


Stock Poseidon

Continuing my Jovian Wars series, here is now my article on the Poseidon class battleship.  I don't think I had planned to modify it much at first. From the start, I wanted to add 2 hangars on the front and fuel pods on the aft section.


Then I though the large exterior fuel tanks would be vulnerable, So I imagined that I could install some kind of armour shroud around them. That structure simply grew. The exterior spars made of segmented folded styrene extends almost to the engine section.In my mind I suppose it most contain armored fuel pipes that lead to the engines. I'm no engineer, but I do have a technical view of things. So I belive look comes from function. Nothing without a more or less obvious purpose should be on anything.


Since I put magnets on almost all the turrets, I was struggling with the placement of the 4 forward kinetic cannons. I made lateral  buttresses to change the orientation of the turrets. Not sure if that made it easier, but it did change the overall look. I have some Green stuff Yellow stuff (Tamiya epoxy by the way) work left to do on there. I take all my time. Going to spend more months in isolation, so I can take time to make the fleet as nice as possible.

The other change was the location of the main hangars. They normally affix themselves to the bottom forward hull. The normal position for any extra launch bays is on the twin hardpoints on the upper hull. I chose to instead put then on the lateral centerline. It was a bit tedious, but I do like the look it gives.


Overall, I found that those 3 mods really changed the top-down silhouette of the ship, giving it more "laterality".

Also visible in this here picture, one of the main beam weapon turrets. The two turrets normally go on the extremities of the centrifuge section. My other beam turret is on the bottom aft section.

I surmise that those centrifuge sections stop spinning during combat. Since the ship now have a broad lateral look, I prefered  the centrifuge to be positioned horizontal during combat.That meant putting the turrets directly on the hull. It does make the battleship look more"battleshippy".

Very small change visible here are also the extra containers.  I could not get a good front view image with focus on the 4 bay doors without shadows. I should learn to make better pictures.


I will most certainly post on the finishing touches and the painting of that juggernaut...

Thursday, 7 May 2020

Valiant Strike cruiser

I haven't posted in a while here.

This time, it`s a converted Valiant class strike cruiser from the space combat game Jovian Wars from Dream Pod 9. This re-imagined, upscaled game from their classic version is currently in beta testing.

This game is begging for conversions I find. The spaceships are modular in nature both in the fluff and the game system. The inline ships indeed can be added whole modules and tack-on pods to the many hardpoints on the hull itself and around the centrifuge sections the majority of the vessels possess. Also the classic Miniature rule books and the Jovian chronicle RPG reference show ships of the same class having lots of difference.

Converted Valiant

I wish I had kept pictures pre-paint. The stock picture from dp9`s site  below can show the differences.


Closeup of Comms module and hangars.
My Conversion is based around a standard cargo module. Three of  the cargo containers became new hangars and the rest of the cylinder became a sensor array counting
the whole as a Comms module. Those are covered in the rules but have no model yet. This was impossible for me to resist making one. Beside the usual green stuff and Evergreen polystyrene , included is a single sensor pod and 2 fuel pods.


Cargo module
Stock


Up next, I believe I'l start a post on my Poseidon battleship. This one is a work in progress and pictures will clearly show modification.

I also want to build a space station for which no official models exist yet. This is going to be fun.

Thursday, 13 February 2014

15 mm terrain


I started to get really interested in 15mm oriented game Tomorrow`s War by Ambush alley games. I relish the fact that terrain, vehicles and figurines cost less, take less  room and and get painted faster.

I'm also keen on trying those dynamic Action-reaction rules that put the emphasis on the soldiers`s skills holding the gun and not endless stats for weapons...


This building is made by Corsec Engineering. It features mdf laser cut with flexible vinyl, laser cut as well for the curved walls. I had a few plastic Warhammer base systems laying around and I found out it makes fantastic bases for 15mm terrain.

We can see two modified tanks. They were bough cheap at the hobby store. It was from some collectible WW2 game. I managed to add some plastic bits to give them a "modern" look. With the 15mm figs from the same system, I will have a dirt cheap army to play-test Tomorrow`s War with some friends.


Simple one with stuff I had in my bits box. Set to look like a dump with a simple garage. I think I had in mind the sort of terrain in the movie District 9 inspired by the 15 mm "crusties" Army for Tomorrow`s War


An industrial terrain... I used a lot of girder-style plastic bit to have a terrain piece with some elevation. I can imagine firefights on a central piece like that with some troops on the balcony and some occupying the building itself.  I will have to glue-in something that looks like windows.  I intend to have a mix of industrial and blocky residential to mask line of sight and provide elevation.


 This one, capitalizing on a Dream Pod 9 building again tries to add a vertical element. I'm not sure if I will cap that building with a dome thing or an open area where my soldiers (which are based on  1-cent coins By the way) will get some cover.  

 Aerial view of my 4 terrain pices so far. I figure that having 9 would give some very tight street fighting moments. I would like also to have some roads and fields/ hydroponics to give the impression of true colony-like aglomerations.

At Walt Disney World 2 weeks ago, I almost bought a Disney monorail model... Fighting in a rail terminal type setting would be interesting. This reminds me a mission in the PC game "Men of war" where the Soviets were dismantling factories and loading them in trains before the German advance with trains leaving at the last minute.... Scenario ideas!!!

Saturday, 27 July 2013

Complete Van Saar Surveyor gang


I have completed the first version of my new Necromunda Ash Wastes gang.  It is finally painted and playable.


Part of my gang.  I quickly converted an APC from the excellent Antenocitis Workshop. I added a few G-W bits to have the 40k look like some engine exhausts, a top hatch and some boxes.


My skimmer transport with my 2 servitors. One is a G-W model equipped with a swappable heavy stubber. The other (not very visible in the picture) is a Dust Tactics model.


The heavy stubber carried by the servitor can be removed and installed on my skimmer when it takes it`s dedicated gunner position. The surveyor gangs from the Ash Wastes can use only servitors to be gunners. I plan on having many swappable options thanks to those delicious magnets...


Many of my gangers were made from the new 5-cultist box sets. I bough 2 boxes  so that I could have a mounted and on-foot versions


For my Gang, I plan next on getting a T-Rex style bike, and a few more skimmers. I also want to do a gigantic crawler that would carry all my current and projected skimmers (Take a look at my Aerodyne 2 from earlier blog post). It would be my mobile HQ for my gang. I will have to do a few games dough, because,  I already overshot my 1300 startup credit.

Can't wait do do a good game with them.


Sunday, 26 May 2013

Necromunda Speeder - part II


I finally finished my speeder for my Necromunda Van Saar Prospectors.

I am pretty satisfied with the results. Since the last post, I have added the undercarriage and the removable cockpit. I have plenty of options thanks to the versatile neodymium magnets...

The removable cockpit contains 4 transparent plastic windows. That was quite a pain to mask for my airbrush and correct by normal brush afterward. There is also one window in each side gull-wing door. On this picture, we see the scanner on the front right side. It is kept on by a set of magnets. It can be put on or removed if the optional scanner is purchased for the vehicle.. I chose a classic Necromunda yellow/black stripes as well as a "steel legion drab" main color for a ash wastes desert look.


This shot shows the top of the craft with doors opened. On the top behind the right front window, we see the round turret for a possible remote controlled weapon. There is already a set of magnets  to allow for the rotation of the turret. On the top, there is an additional magnet embedded for the removable weapon. This will probably be a heavy stubber swap-able from the speeder to one of my weapon servitors for my prospector gang.


The aft shot shows the 2 landing gear struts. It is part of the Games-Workshop Imperial Bastion kit. It`s the base of the AA laser gun, I believe. It`s perfect for the landing gear of my speeder. We also see the aft control surfaces and the hydraulic cylinders to control them. Those are from the bulldozer blade from a Leman Russ. The large plates themselves are also part of Leman Russ kits. If I remember correctly, the are from the side sponson assemblies


Front shot with the top armor removed. I will probably leave the door raised when I do a game to leave the impression of the passengers shooting freely on their enemies... I used a masking  method with dried salt for my airbrushed  paint job. That shows pretty well on the front"hood" of the speeder. I have used this method many times already on all my "weathered"  vehicles. I can say I have not mastered it completely... I'm not always satisfied of the results..


Side shot. Not much to say. The yellow/black stripes on the ducted fan engines was not easy to do. I'm not really good with freehand.


 Shot from beneath. There is warning yellow/black stripes around the engine intake.


Well, that`s the speeder for my Van Saar gang... It`s called "Aerodyne 1" by the stoic and practical minds of My Van Saar... I leave you with  some pictures of my future project,  "Aerodyne 2"


Tuesday, 4 December 2012

Necromunda Speeder - Part 1


As I mentioned before,  Necromunda conversions and vehicle conversions in particular never left my mind for the 15+ years I've been playing it on and off.

 The Necromunda Ash Wastes fan extension have rules for vehicles wich include tracked, wheeled walker and skimmer vehicles. Lots of optionnal equipment offer extra conversions possibilities with incentive for swappable conversions.

I started this a while back using a Space marine scout skimmer.  I imagined a fully enclosed speeder to endure the punishing sand-laden windstorms on the Necromunda surface..


   In typical zeal, I planned on interior detail wich meant opening and closing doors. I opted for 2 full gull-wing doors so I' would not need to have interior space for it to slide in. The pivoting mechanism (seen here) is a plastene rod sliding free in a cylinder wich also constitutes part of the fuselage directly aft of the cockpit. Notice also the twin cup-holders, a reminder of my daily commute :)

I initially though the scout skimmer to be large enough but ended up slicing it up and doing the limo thing... You can see here basically where I cut it up. Some IG track guard fit perfectly to extend the keel of the craft.


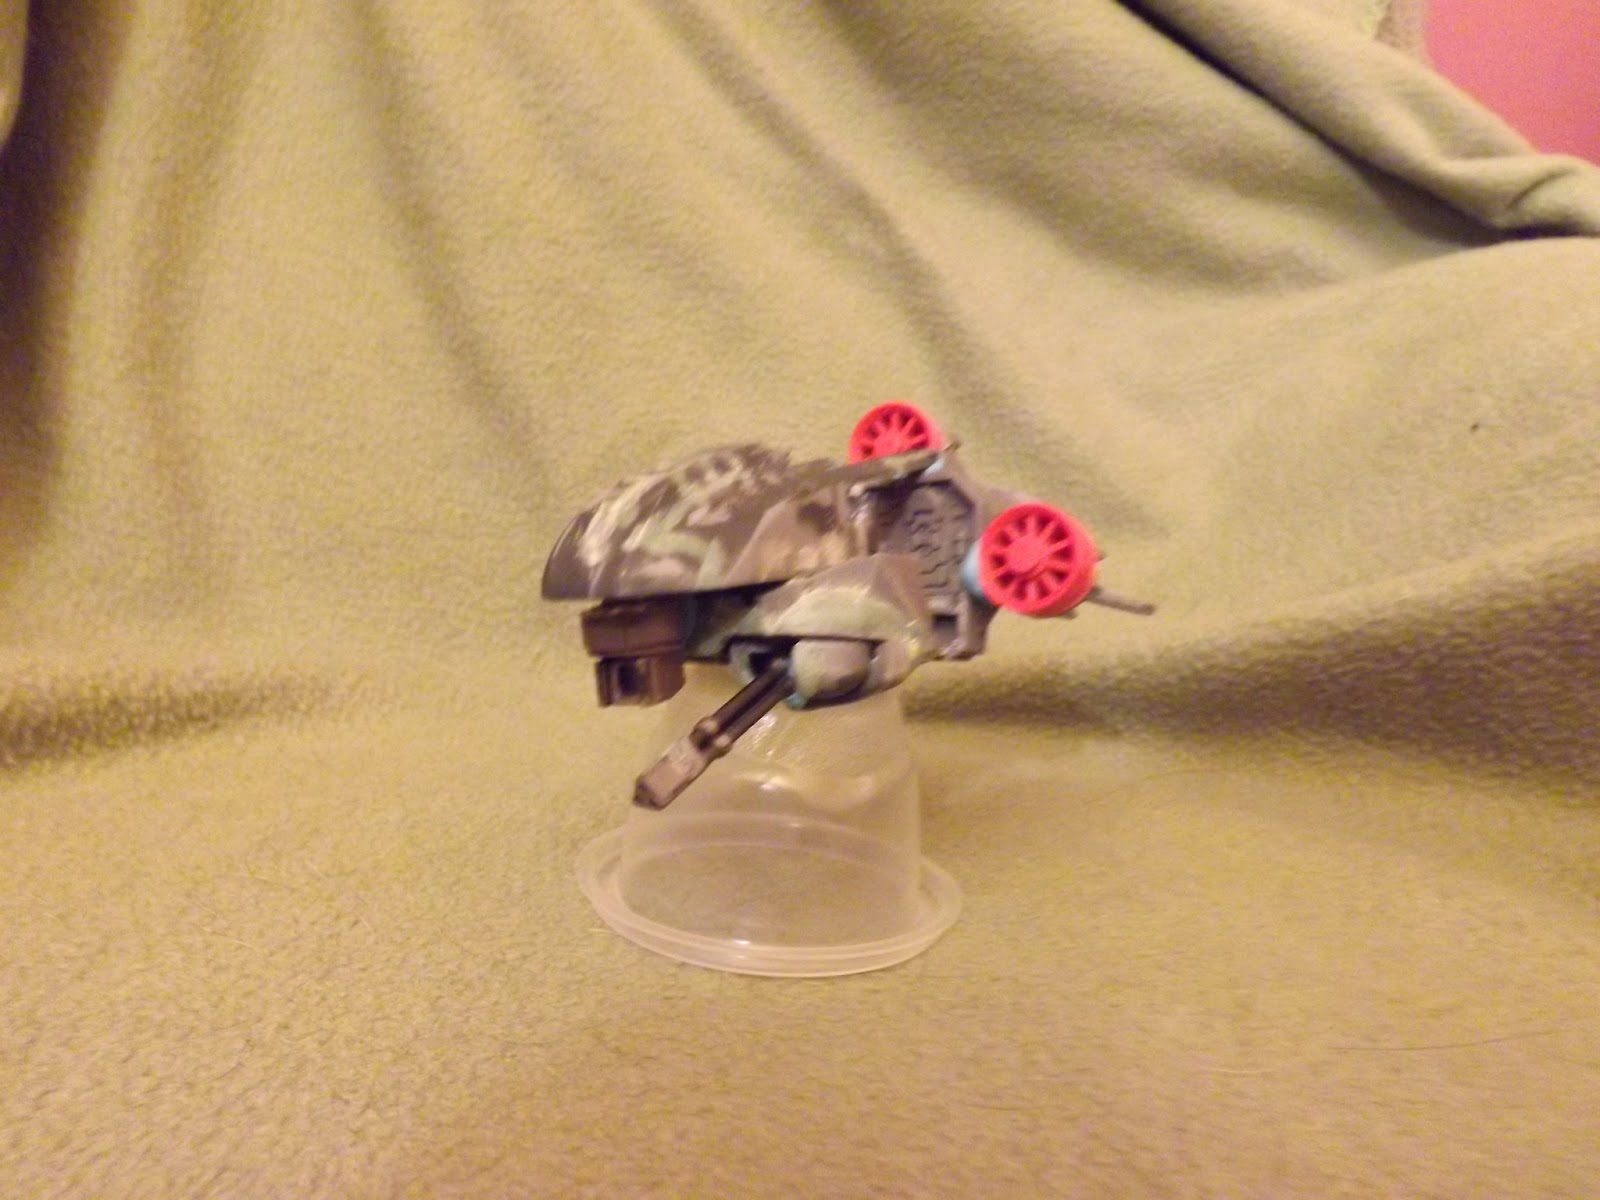
I planned on wings from the start. When I stumbled onto my unused Tau scout skimmer I jumped on the opportunity to use the drone well as the housing for a lifting fan. I imaged the complex anti-grav plates too hard to maintain on Necromunda and to be replaced by ground-effect wings and ducted fans...
I used some really old LEGO train weels for the fans and pinned them with some steel wire to give the impression they are gimbaled in the housing.


At first I wanted the whole wings to pivot VTOL-style but could not find a suitable mechanism. I also wanted to keep the interior free for detailing so I didn't want some axle to cross the interior space. Perhaps I will include that in a smaller 2 seater version...


In Necromunda, skimmers aren't that fast. I wanted to decrease the "speed demon" look of the Space marine scout. I removed the 2 top engines and installed various bits. My tiled plastene boards were as usefull as always.


  I will post some further pictures soon including the undercarriage and enclosed cockpit... Further down the line, an article on airbrushing of the craft..


Saturday, 1 September 2012


I've decided to start a blog for my humble conversions of warhammer 40K vehicles that I've made over the years.  When fishing for ideas on google, I would often end up on richly detailed blogs with pictures of in-progress work ; a wonderful source of inspiration. Making a small blog of my own,  I can give back to the community and hopefully give out some ideas to other guys looking for ideas themselves...

Most of my vehicle modifications endeavours arose of the wish to modify G-W`s base kits. 1- to have something different and 2- To improve on all those mass-produced cost-effective plastic models... The basic Leman Russ particularly, I din't like.

  The oldest wish for my own conversions come form my days playing Necromunda. One of the books, me and my brother bought, "Battle in the underhive" had a wonderfull arbites 6-weeled vehicle based on an imperial Chimera complete with dozer blade (to bulldoze people!) and grilled driver viewing port. I did eventually make my own altough it was a bit different.

I'll start by showing one of my "Bradly" Chimera. I'v always liked the look of the real world American M2 Bradley Infantry Fighting Vehicle Badley images. I've made 2 of these for my renegade Imperial guard. I've used the older kits that include a sprue with tank accessories like the track guards I used as side armor. I managed to use almost exclusively stuff from the kit, not going much in my bits bin... Like most convertors, I use lots and lots of styrene plasticard,  mostly the evergreen brand http://www.evergreenscalemodels.com/ and of course, I use green stuff a lot!!

I've omited the outer-most side armour plate so that the wheels and tracks are clearly visible and made the track not loop up all the way "WW1 style".

I've always hated that mostly all G.W. Imperial tanks have that side armor skirt that goes down almost to the ground. I know it`s for that "WW1" look again, but not only does it hide the wheels and tracks, the tanks most distinctive feature, but also, I can't imagine a tank with a suspension system with barely 2-3 inches of travel doing any kind of off-roading...  Sadly with the newest Chimera plastic kits, I couldn't do that conversion anymore because the tracks now glue directly to the side units and no wheels are included in the kit.


I've lots of stowage on the exterior as to represent my tank crews placing all their gear on the outside. The tank accessory sprue is perfect for this.  Like the Bradley, it has an Autocanon and missile system on an off-center turret. The chimera is ideal for this conversion. The stowage on the turret comes from a Leman Russ. I think it would look great even on an almost-stock chimera.


 I've used the inside of the back door as the engine grill. I sanded the bottom of a cupola for the driver`s hatch. That way I could place it real flush on the right side of hull That I think gives a more credible and modern look to the chimera. I've always loved slightly asymmetric designs like the bradley and indeed the chimera
Part of one of the side arrmor (containing the engine exhaust).


Again, stowage near the back door like the Bradley.


With the door opened... I used steel wire and drilled holes in plastic to allow the door to open and close... I like to add interior detail when I can. There's not much inside though ; just some side benches.


So there you have. It`s one of my chimeras. I hope you like it. It`s not a hard conversion to make  (if you have an older style chimera kit)

I will shortly add more pictures of other vehicles from my renegade Imperial guard.. I also have in-progress work of some vehicles for Necromunda Ash Wastes. This will give a more interesting look with the unpainted green stuff and plasticard.